Showing posts with label kitchen. Show all posts

Monday, February 10, 2014

Gluten-Free/Paleo Avocado Fries

Avocado Fries 3


I am personally not Gluten-Free or on the Paleo diet but I thought I would provide this version of the recipe for all of those who are :)

Avocado Fries

3 Avocados

Coconut Oil for frying 

1 bag of Almond Meal/Flour

3 Eggs, beaten

1 cup Unsweetened Coconut Flakes

Salt to taste

Avocado Fries2


Set up two separate bowls. One with almond/coconut mixture/salt to taste - don't be shy (I don't give amounts because you just need enough mixture to cover all of the avocado slices) and one with your 3 beaten eggs.

Cut the avocados in half and then slice them vertically into 4 inch by 1 inch wedges. Set them aside.

Heat the coconut oil in a frying pan, be sure to add enough so that it is 3 to 4 inches deep.

Drop each avocado piece in first your egg mixture and next in your almond/coconut mixture. Place them in the hot oil and fry them for only about 15-30 seconds per side (keep a keen eye on them - they tend to brown very quickly depending on how hot your pan is).

Remove the avocado fries from your pan with tongs and set them on a plate preferably lined with paper towels, to absorb the excess oil. Enjoy and serve with your favorite dipping sauce!!

Avocado Fries

Avocado Fries

Avocado Fries 3


If you have not had the joy of trying these yet, you are in for a serious treat. A friend and I ordered them as an appetizer and salivated over how delicious they were. I knew I needed to recreate them at home. They were super simple and I knew you all would appreciate the fact that there is a delicious gluten free/paleo version to them as well! Please refer to that post for the recipe. They are best served with ranch, spicy mayo or spicy/sweet ketchup (also known as chili sauce). Have at it!

Avocado Fries

3 Avocados

Coconut Oil for frying (Vegetable oil will do just fine)

1 can of Seasoned Panko Bread Crumbs

3 Eggs, beaten

3 cups of Flour

Salt to taste

Avocado Fries2


Set up three separate bowls. One with flour, one with your seasoned Panko Bread Crumbs and salt to taste (don't be shy), and lastly, one with your 3 beaten eggs.

Cut the avocados in half and then slice them vertically into 4 inch by 1 inch wedges. Set them aside.

Heat the coconut oil (or vegetable oil) in a frying pan, be sure to add enough so that it is 3 to 4 inches deep.

Drop each avocado piece in first your flour mixture, second your egg mixture, and lastly your Panko mixture. Place them in the hot oil and fry them for only about 15-30 seconds per side (keep a keen eye on them - they tend to brown very quickly depending on how hot your pan is).

Remove the avocado fries from your pan with tongs and set them on a plate preferably lined with paper towels, to absorb the excess oil. Enjoy and serve with your favorite dipping sauce!!

Avocado Fries

Wednesday, January 29, 2014

Enchilada Pasta

enchiladapasta3


I make enchiladas just about every couple of weeks but this just changed up the game a bit. Well really, it means that I will probably be making them once a week (changing it up between the typical tortilla version and this new pasta version). It is to die for! I recommend adding in whatever extras you like. This recipe calls for corn, black beans, and avocado... But if you like jalapenos, pinto beans, etc... mix it up! This is the mexican version of comfort food.

Enchilada Pasta

16 ounces extra wide egg noodles (1 bag)

1 1/4 cups enchilada sauce

1 cup canned corn kernels, drained

1 cup canned black beans, drained and rinsed

2 cups of Kraft Mexican Blend Shredded Cheese

1/4 cup Greek yogurt (or Greek Yogurt Sour Cream)

1 can Diced Green Chiles

1 pound Ground Beef

4 ounces cream cheese

½ a packet of Taco Seasoning *Tip: Save the other half for your next Mexican dish! Or use it all for extra flavor

Kosher salt and freshly ground black pepper, to taste

2 Avocados

1 bunch fresh Cilantro

EnchiladaPasta

Preheat oven to 350 degrees. Lightly oil your baking dish or coat with nonstick spray.

In a large pot of boiling salted water, cook pasta according to package instructions; drain well.

In a large bowl, combine enchilada sauce, corn, beans, 1/2 cup cheddar cheese, 1/2 cup Monterey Jack cheese, Greek yogurt and green chiles; set aside.

Side Note: Funny story. So the first time I made this I somehow missed out on cue to add enchilada sauce (even though I had purchased it). Exit stage left Mary, I know. However, I wanted to mention it here because if you have someone in your family, someone you are cooking for, or whatever the case may be, that doesn't like enchilada sauce… this recipe turned out amazingly without it. Just trust me. All of the other flavors from the diced green chiles, cilantro, avocado, etc are enough to get you in the fiesta mood.

Now that I have sufficiently embarrassed myself. Let’s move on J Add ground beef to the skillet and cook until browned, about 3-5 minutes. Stir in cream cheese and taco seasoning until cream cheese has melted. Stir in pasta and enchilada mixture until well combined; season with salt and pepper, to taste.

Add pasta to prepared baking dish and top with avocado and remaining cheeses. Place into oven and bake until cheeses have melted, about 5-10 minutes.

Serve immediately, garnished with cilantro. The more the merrier.

enchiladapasta2

Wednesday, January 22, 2014

Parmesan Crusted Tilapia

ParmesanTilapia1


One thing I can not stand about cooking things like fish is that all-too-well known 'buy it on Sunday, ya don't eat it by Wednesday, and...TRASH.'  Working around that I started to buy frozen fish.  The only one that I personally like to buy frozen, rather than fresh, is tilapia.  It is a white, flaky fish that can pretty much be cooked any way you like.  Whether blackened, fried, crusted, or plain with a little seasoning.  One way I found to 'wow' a generally known to be bland fish, is to crust it! So throw those puppies into the microwave, defrost, and let's get started.

This recipe is super simple and requires close to no clean-up.  That is my kinda weekday night recipe!

Parmesan Crusted Tilapia:

4-6 pieces of frozen Tilapia (defrosted)

1 bag of Kraft Fresh Take Italian Parmesan Recipe Blend (cheese section)

1/2 cup of Mayonnaise 

A couple squirts of lemon juice (I chose to buy lemon juice as opposed to plan out buying a lemon each and every time I want to use a little!)

Preheat your oven to 375 degrees.  After thawing the tilapia in the microwave, or however you'd like to do so, prepare your baking pan.  By prepare I mean, line it with tin-foil to provide for easy clean-up! Lay each of your pieces of tilapia on your baking sheet an inch or two apart.

Next, top the tilapia pieces with a thin layer of mayonnaise.  The mayonnaise is not for flavor, so by thin I mean THIN.  It is simply a sticking mechanism for the crust. Top the now covered in mayonnaise tilapia pieces with the mixture of bread crumbs and parmesan to create a nice crust layer.

kraft-chicken-parmesan2-480x320


Then, squeeze a tiny bit of lemon juice on top of each piece for some minimal citrus flavoring.  Lastly, you may have noticed that I didn't call for a little melted butter in the bread topping as a thickening crust agent.  Well, that is because I try to steer clear from butter whenever possible! My tip that provides for the same outcome is to spray the top of the crusted pieces with butter-flavored cooking spray.  How perfect is that?

Place your baking sheet in the oven for about 10-15 minutes or until a little browned on the tops and you are set! Whether you are wow-ing a whole dinner party or just cooking for a special someone, this recipe is a super simple way to incorporate a lot of flavor and a beautifully presented fish dish all in one!

ParmesanTilapia2

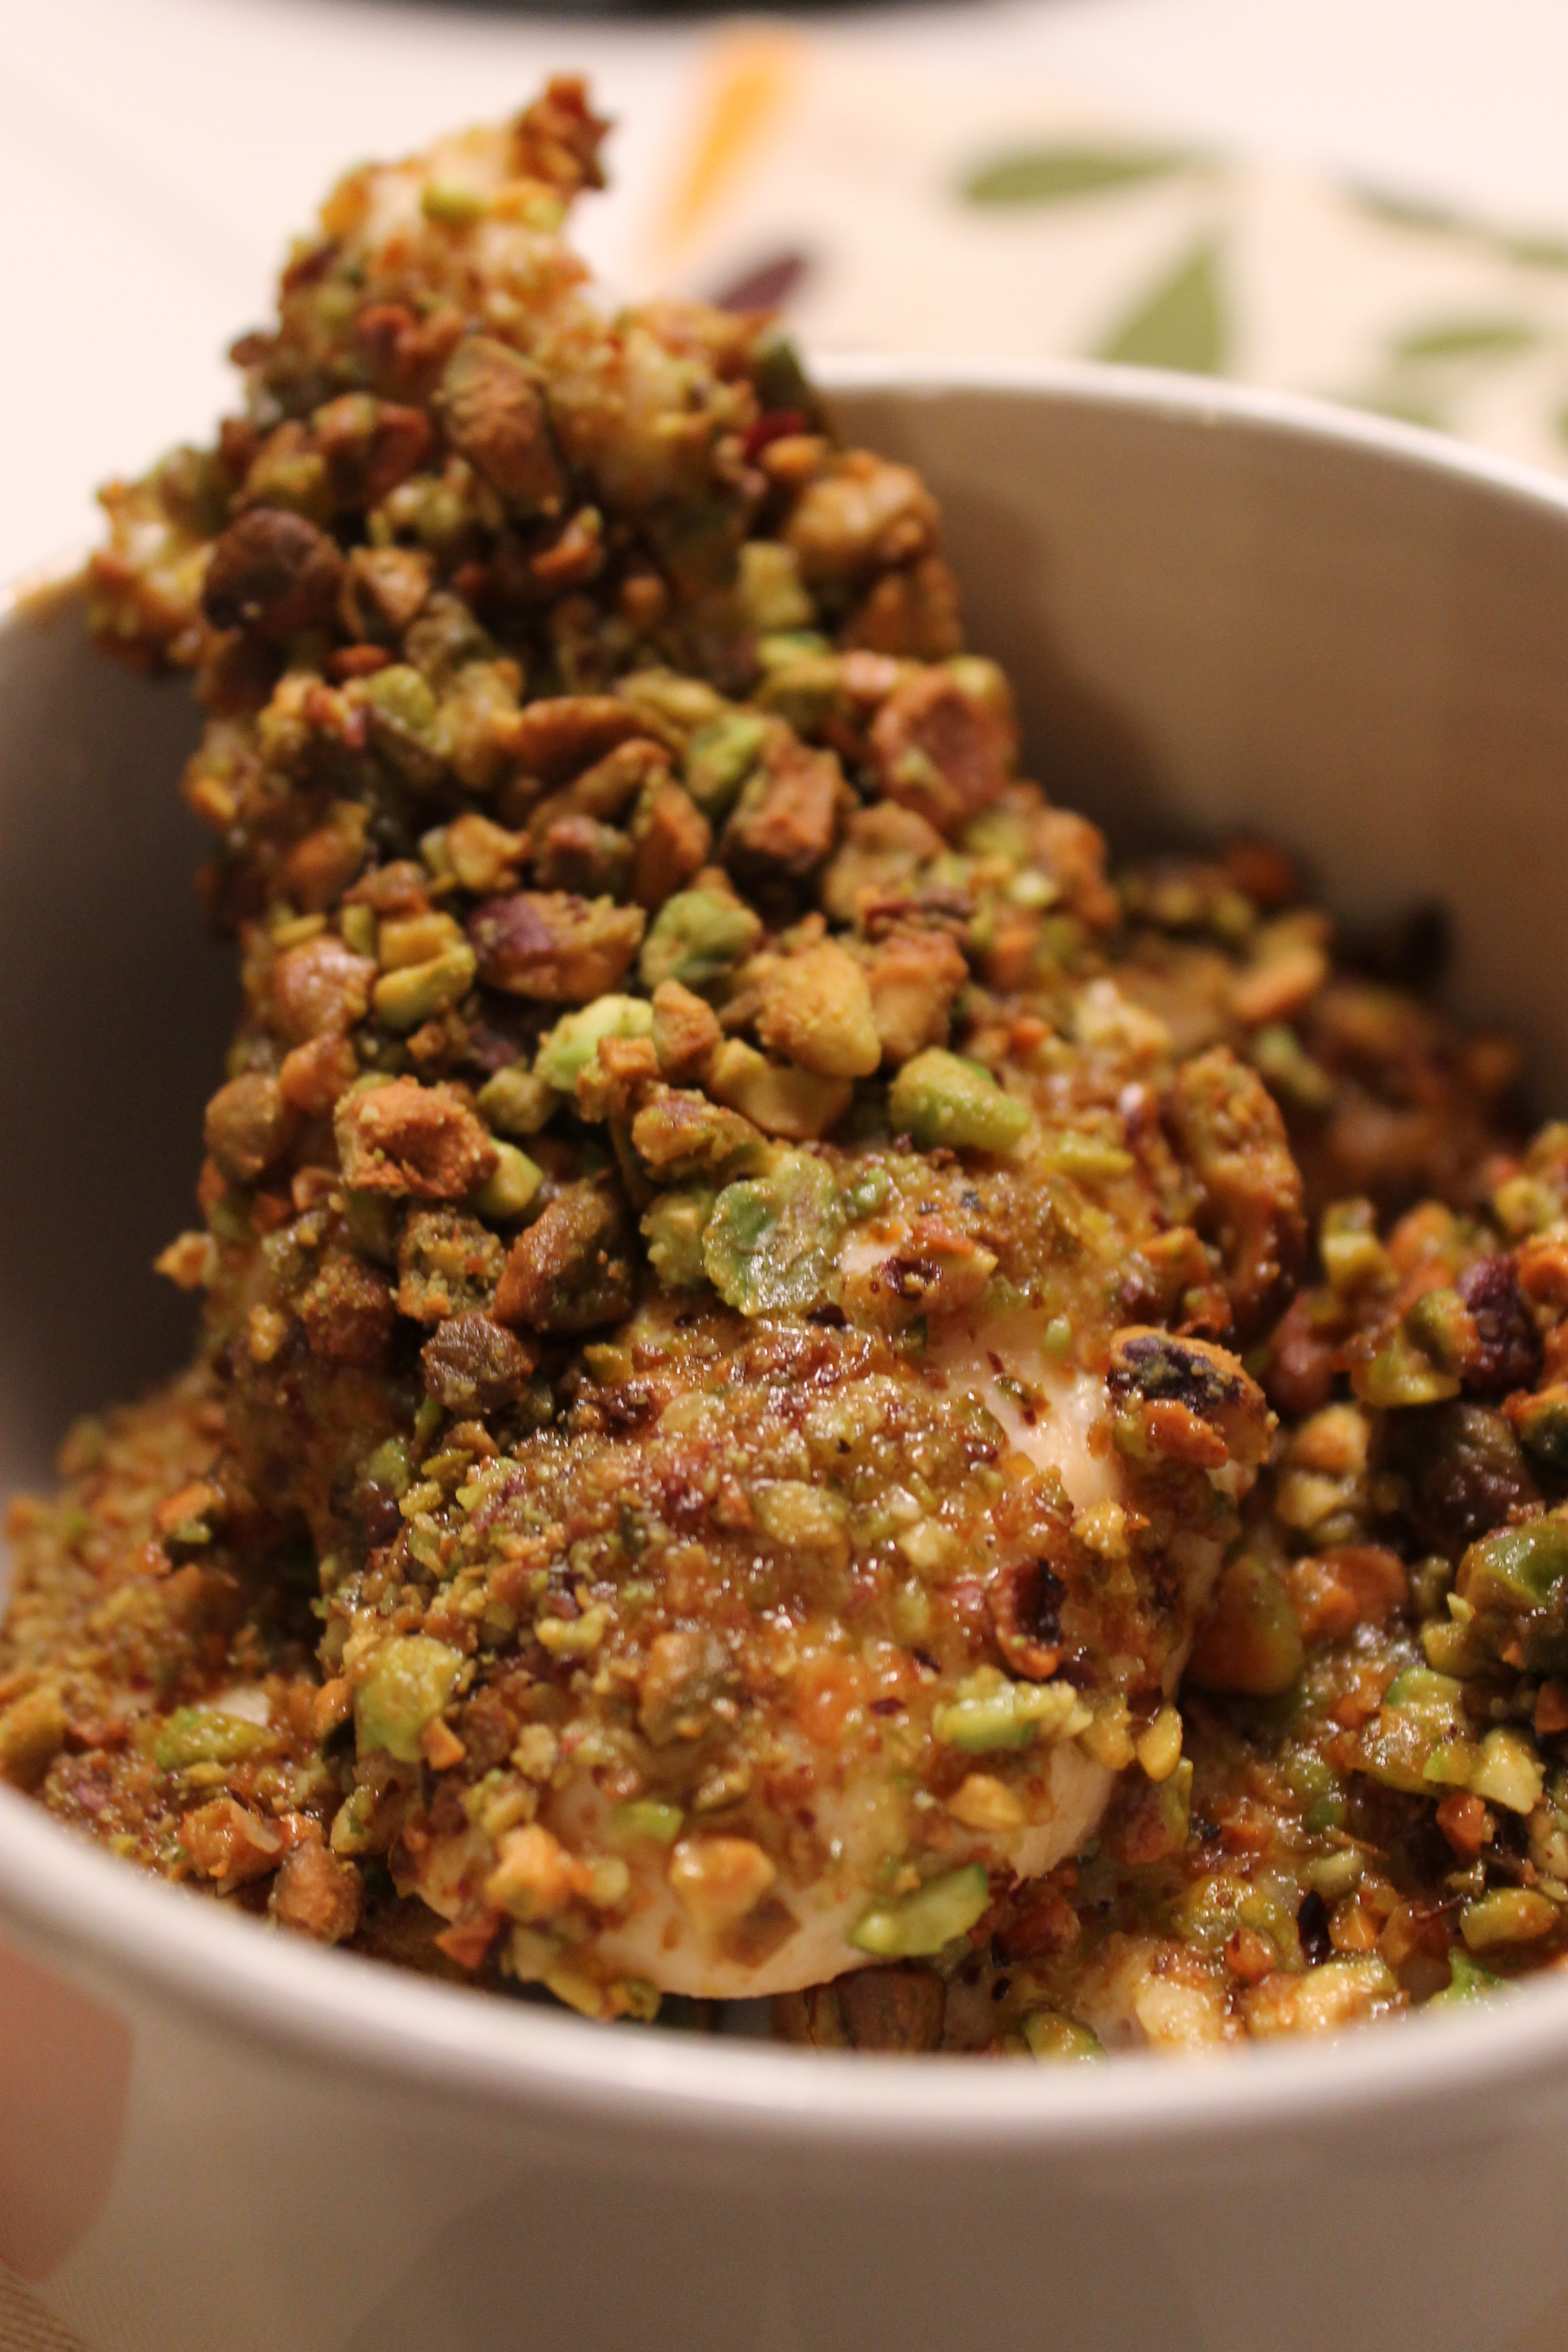
Pistachio Crusted Chicken

Pistachio Chicken1


I do love chicken, but I am constantly trying to find ways to keep it interesting. Well, HERE. WE. GO.  If you have kids, a picky eater, someone who loves chicken, or really just anyone... they will probably love this recipe! I had it for the first time at a dinner party and fell in love. After making it a couple of times, I found what version of it worked best for me. It pairs really well with mashed potatoes and creamed spinach. Basically heaven on a plate. Give it a try and please do tell me what you think!

Pistachio Crusted Chicken

1 cup chopped/smashed Pistachios (or any pistachio blend) *no shells

½ cup of Bread Crumbs

½ cup of Olive Oil

¼ cup of Honey

*Some recipes call for 2 tablespoons of Dijon Mustard in the sauce - you are welcome to try that as well!

Salt and Pepper to taste

1 ½ pounds of Boneless Chicken Breast Tenderloins (Chicken Strips)

Preheat oven to 375 degrees F. For easy clean up, line your baking sheet with tin foil or lightly coat it with cooking spray.

Chop your pistachios, or I prefer to add them to a quart size plastic bag and smash them with a handy wine bottle. Mix together the pistachios and bread crumbs in a bowl. In a separate bowl, mix the olive oil, honey, salt and pepper together until smooth. Dip the chicken tenderloins into the olive oil mixture, and then coat it with the pistachio mixture. Place the tenderloins onto the baking sheet.

Place the baking sheet into the oven. Bake the chicken tenderloins until the chicken is no longer pink and the coating starts to turn golden brown. The cooking time takes anywhere from 10-20 minutes depending on the size of the tenderloins. Just keep a keen eye on ‘em! You’ll know. It will look a little something like this...

Pistachio Chicken2


You really can't beat the mixture of salty (pistachio) and sweet (honey) flavor that comes packed into these chicken tenderloins. I recommend trying this recipe even if you are not a pistachio lover - you will be pleasantly surprised!


Pistachio Chicken1

Tuesday, January 14, 2014

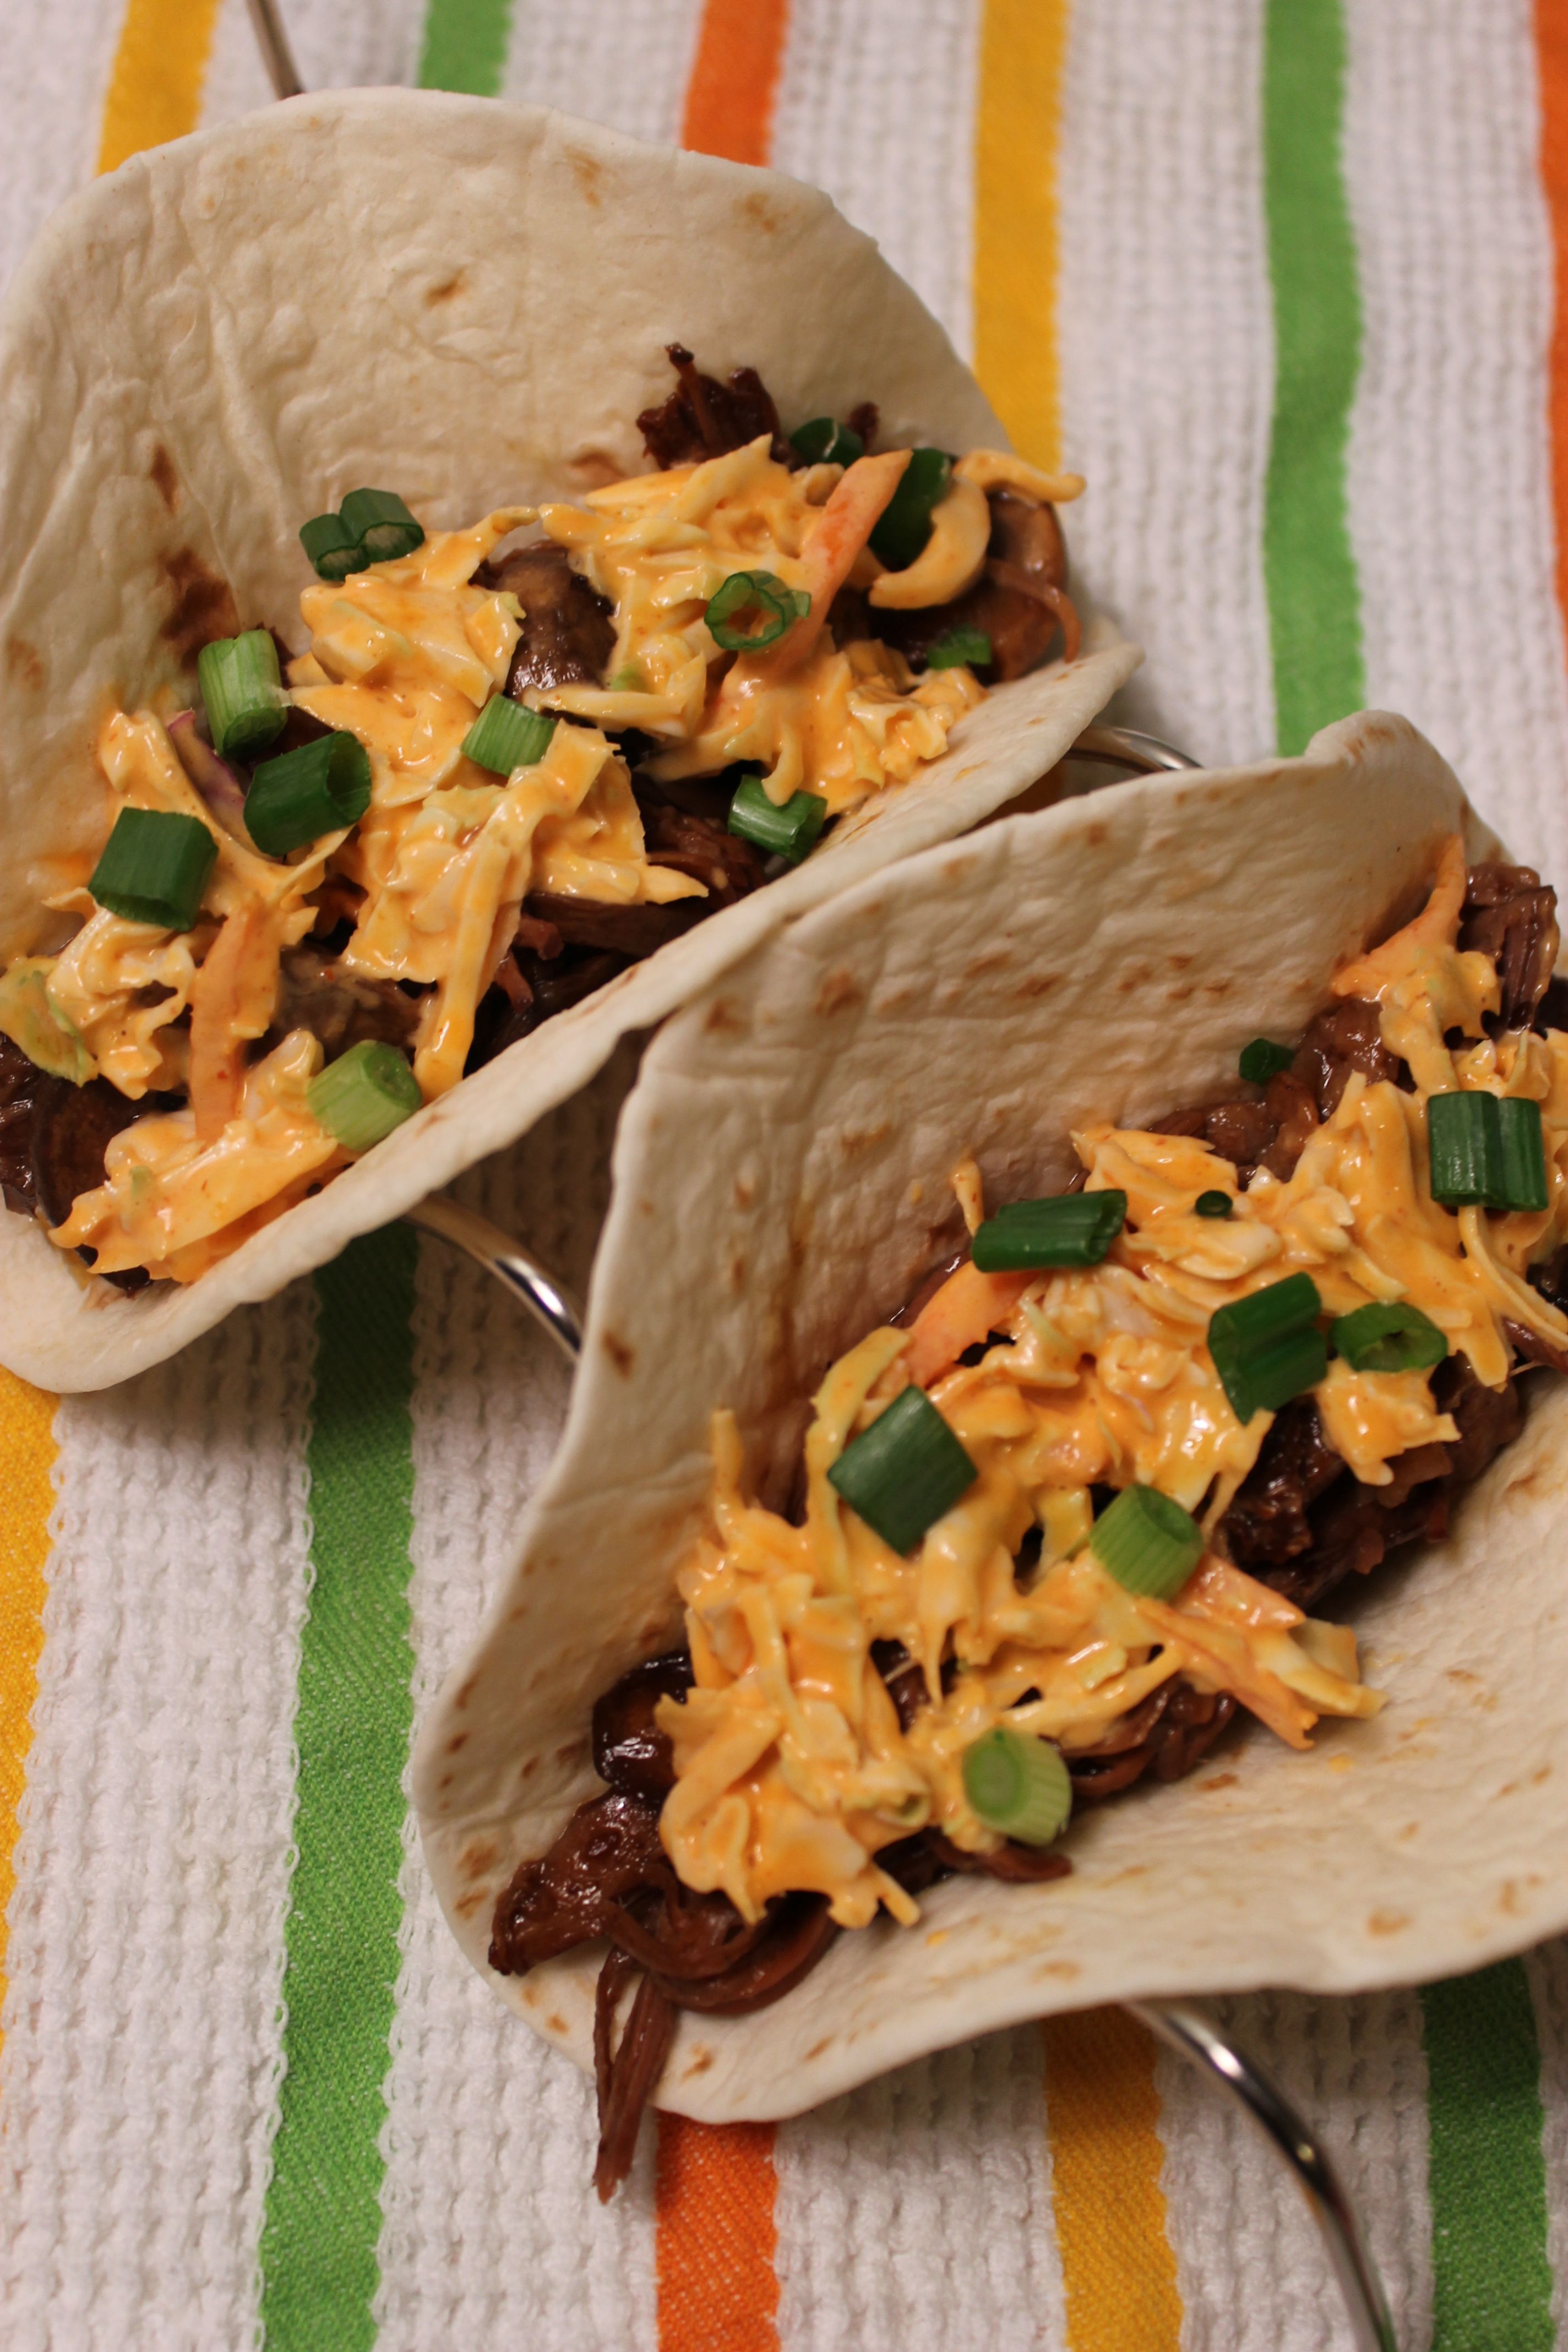
Korean BBQ Steak Tacos with Honey Sriracha Slaw

Tacos2


Who said Crock-Pot recipes needed to be hard? Campbell’s certainly didn’t. They recently came out with a line of ‘Slow Cooker’ sauces that have made making Crock-Pot dishes almost impossible to turn down. With my pure love of Asian food, I was ECSTASTIC when I saw they had a Korean BBQ version of the sauce.  Instant light bulb went off: TACOS!

Campbells-Sweet-Korean-BBQ-Slow-Cooker-Sauces-3


It’s fairly easy to come up with things to put on a flour tortilla, but it is not often that you find something new and different. I thought you all would really appreciate this Mexican dish with some Asian flare for not only its flavor but its simplicity, too! Have at it :)

Korean BBQ Steak Tacos with Honey Sriracha Slaw

2-3 pounds of Chuck Roast Steak (make sure there is some marbleization so that it doesn’t get tough)

1 package of Campbell’s Slow Cooker Korean BBQ Sauce

1 carton of sliced Mushrooms

1 package of shredded Cabbage (you only need to use about 3 cups worth)

¼ cup of Mayo

1 tablespoon of Sriracha

1 tablespoon of Honey

1 package of small Flour Tortillas

Optional:

1 bunch of Green Onions

1 bunch of Cilantro

Set your Crock Pot to low and add your whole chuck roast as well as your mushrooms.

Pour the entire contents of the Campbell’s Slow Cooker sauce into the Crock Pot. Let it sit on low for the remainder of the day (6-8 hours).

Once it is done cooking, use a fork or tongs to shred the meat a bit. Add your desired amount of shredded steak and mushrooms to your flour tortillas.

In a bowl, combine your shredded cabbage, mayo, sriracha and honey. Stir the ingredients and top your tacos off with the mixture. Lastly, add chopped green onions and cilantro to your tacos, if you wish (I would recommend doing so!)

And that’s all folks. You heard it here first.

Tacos3